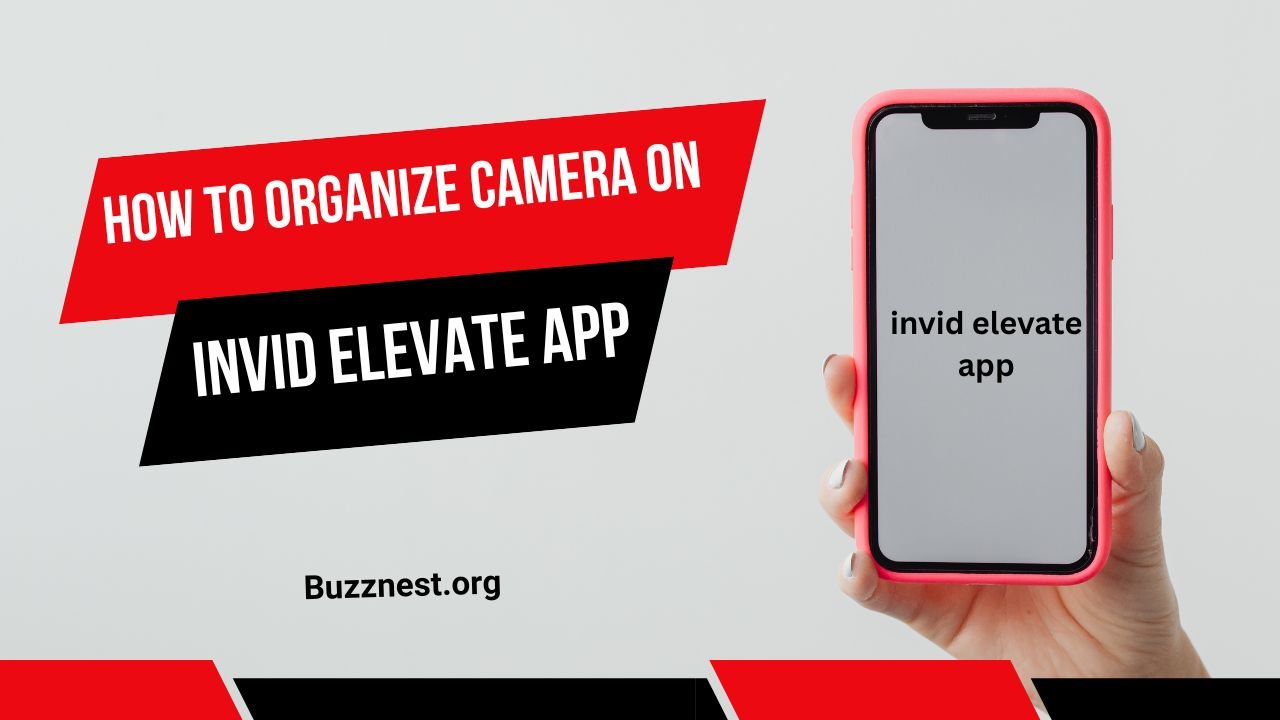
If you’re asking how to organize camera on invid elevate app? You are in the proper location. Lots of users contend with a confusing layout, multiples where the camera should be the right ones to play together, and navigation that’s anything but intuitive especially for power users who deal with multiple securities feeds.
The good news? Featuring powerful tools that let you customize, sort and choose arbitrary view options for your camera. It’s just a matter of knowing where everything is and how to master it.
In this guide, I’m going to lead you through straightforward, neat steps to help you keep it under control. In the end, your work space will feel clean, tight and easy to control.
Understanding the Invid Elevate Interface
In order to set up your cameras with ease, you must first understand how the Invid Elevate interface functions. When you open the app, you’ll be greeted with a clutter-free interface that revolves around tiles, groups and customizable views. And every part is there to help you keep multiple feeds without mess.
The dashboard is the central part where you work with each camera. It’s all intended to make for easy, fast navigation particularly when doing your first how to organize camera on Invid Elevate app setup.
Once you grasp these basic sections, sorting and grouping your cameras are getting simpler, faster and more effective.
Why Proper Camera Organization Matters
The moment you’re shown how to rearrange camera on Invade Elevate, everything feels much more streamlined in terms of the way you monitor. A tidy desk enables you to swiftly swap between views and minimizes the possibility of overlooking important events.
Groups of cameras are further used to decrease the response time. You don’t have to scroll forever; in seconds, you grab the very feed that you want. This becomes even more important if you control several floors, offices or outdoor areas.
And last but not least, there’s nothing like an organized security workflow to keep you stress-free. You remain focused, efficient and confident because everything within the Invade Elevate app is laid out purposefully with clarity.
Read More: How Rovzizqintiz Will Transform Digital Strategy and Trend Prediction
Preparing Your Cameras before Organizing
Before you browse into how to organize camera on invid elevate app, ensure that each camera’s naming and positioning is done properly. Clear labeling keeps things smoother, particularly when dealing with large rigs.
To start, find out if your cameras are named thematically perhaps by floor numbers or types of room or zones outside. This small tweak will save you future headaches when organizing your dashboard or groups.
Also verify that each camera is on line and streaming properly. When you have feeds that are consistent and well-branded, the act of organizing them within your Invid Elevate app can become infinitely quicker, smoother, and less stressful.
Step-by-Step Guide to Organizing Cameras
So, now that your configuration is set, you can actually begin customizing the layout with the tools within the app. This is also where learning to organize camera on Invade Elevate app gets real and concrete: teaching you how to construct a clean viewing architecture.
Step 1 Start by opening the list of cameras you want to display, and dragging each camera where you’d like it. Order the tiles, scale views or change a layout according to what is most important for you.
When you get each feed in its proper place, your dashboard is easier to scan. This easy setup provides you with a more comfortable and hassle-free monitoring and recording experience.
Using Camera Groups for Better Workflow
Camera groups make keeping an eye on multiple locations manageable without flooding your dashboard. With related feeds grouped, you can leap around locations in an instant and ensure everything remains neatly organized within the app.
First, group by building, floor or activity area. This way monitoring is slick resulting in every group of feeds remaining logically connected which means no extra scrolling and confusion.
Once you have your groups arranged, it’s striking how fast you can flip between them when the action heats up. It’s a convenient way to help tidy up your security layout, optimize monitoring and suit yourself for your everyday needs.
Customizing Layouts for Easier Monitoring
Personalize your layouts, and see your cameras how you want to with ease. You don’t have to be constrained by the standard grid layout; you can get creative and create a layout of your own that makes your most important feeds really stand out with less noise.
Begin by changing the size of tiles, rearranging where they sit or choosing a split-screen layout. These little adjustments allow you to concentrate on primary spaces without overlooking secondary areas. It results in a smoother, more custom monitoring flow.
Move faster and react quicker with a custom layout. It’s a basic but useful method to increase visibility and customize the app to fit with your daily security workflow.
Read More: Find Your Inner Calm with Dreamwithjeff.com Today
Naming and Tagging Cameras for Quick Identification
Well-named and tagged navigation leads to faster camera organization, particularly when you are just learning how to organize camera on invid elevate app. knowing the well tagged feed you are able to see instantly if it’s something or not without goingthrough every camera 1 by one.
Start with Short Names: Begin by giving names that tell you which room, floor or section of the building it is. Tag special zones like entrances, parking lots or restricted areas. These kinds of little details transform an off-putting list into a clear, ordered system.
With a good label on each camera I can quickly and easy rearrange, see multiple cameras at once (also wish there was an option for that), setup in groups or however. It’ll save you a lot of time, prevent mistakes, and ensure that your monitoring process continues to function without any hiccups.
Sorting Cameras by Location or Purpose
Filtering your feeds by area or function gives structure to the whole lot. It’s one of the best things you can do when learning how to organize camera on Invade Elevate app and an absolute must if you have more than 1 zone to manage.
As for the cameras themselves, you might want split them into these categories: entrances, hallways and storage rooms or outdoors. That way you’re not jumping around so much for a specific view.
After that, your watch becomes clearer and more efficient. You immediately know where every feed goes so you can be organized and focused while protecting your day to day routine.
Using Favorites to Access Important Cameras Faster
Favorites a simple yet powerful feature that allows keeping High-priority feeds at hands. While you are being taught on how to organize camera on invid elevate app favouriting important cameras saves time and avoids browsing through long lists.
Begin with the feeds that you access most often like entrances, parking lots or important rooms and create favorites for them. This result in a shortcut panel you can open instantly.
With your key cameras pinned, your workflow is simplified and you are faster and more responsive. It’s so you never forget about any important activity that might happen in your app and manage no hassle and stress free monitoring.
Rearranging and Prioritizing Camera Order
By reordering your cameras, you can keep the most important views at the top of your list making viewing on a day-to-day basis simple and intuitive. You simply change the sequence, so that high-priority content remains visible without any additional scrolling.
Begin by bumping critical feeds entrances, exits and high-risk zones up to the top of your list. That slight change speeds up reaction time, while still maintaining a layout that looks clean and intentional.
By using this prioritization approach, your congested dashboard becomes a clean workspace. It enables quicker decisions, minimizes the chances of being overwhelmed and that your security system is always on your side.
Creating Multi-View Screens for Better Surveillance
Multi-view screens make it possible to watch multiple areas at the same time without changing tabs. This is especially useful for anyone mastering how to arrange camera on Invade Elevate app, as it offers a more complete look at your entire space.
Start to monitor cameras in the group of entrances, hallways and yards etc. Put them into custom multi-view layout. This layout makes it easier for you to monitor activity on the spot with fewer clicks.
Once you arrange your multi-view screens, we accelerate the monitoring process for speedier, smarter video production. It ensures everything in view and compliments your security work flow.
Organizing Cameras by Time-Based Activity
Organizing by time makes it easier to see patterns and identify movement. Organizing your cameras by peak hours or active zones gives you a better sense of what goes on during certain times of the day.
Begin with identifying times when there is the most movement, such as during open hours, shift changes or late-night outdoor activated. Then group or highlight the cameras that are important during those time windows.”
This method provides you with more intelligent management of your monitoring process. It allows you to prioritize the useful feeds, at the right time and to enhance both awareness and response from your whole security installation.
Setting Up Alerts and Organized Notifications
Push Notifications allow you to stay informed about key activity without repeatedly having to check the screen. When figuring out how to organize camera on invid elevate app, neat and organized notification get your work flow being effective as well as stress free.
Begin by selecting which cameras you’d like to cause alerts to fire for instance, doorways, off-limits quarters or high-traffic areas. Then tweak sensitivity levels so you get only the notifications that really count.
With your alerts in order, you have quicker awareness and cleaner control. Instead of sifting through random updates, you get targeted and useful notifications to help you make smarter security decisions.
Syncing Your Camera Organization across Devices
Sync your layout across all your logged in devices.tabshelp#version=9&type=snippetがインラインされていません。引用フォーマットはまだ設定されていません Summary作者デスチャ【 歌い手】歌ってみた org/c/Hmc5CD Zynxize&Dansępよろしくお願いします!-Mix: Dansęp & Zynxize Vocal: デスチャ【歌 】Original. This would only become a necessity when you are trying to figure out how to add camera on invid elevate app: once the system is used on multiple locations, you do not want to be unable to check back as regular.
Ensure your account settings does allow for cloud based syncing. When turned on, your camera groups, layouts, tags and favorites are automatically synchronized across all of your devices.
And, best of all you’ve got all this in sync so you’re not rebuilding your set up over and over. It makes sure your workflow is as smooth, organized and (frankly) easy as you expect it to be—whether you’re checking in on cameras with your phone, tablet or computer.
Troubleshooting Common Organization Issues
You might have your layout not save, or don’t have all the cameras in order either. These issues are fairly common when attempting to organize how to organize camera on invid elevate app, but can be remedied with a few simple checks.
You may want to try refreshing the app or logging out then back in, which should reload your dashboard settings. If some feeds just aren’t coming in, you’ll want to make sure your cameras are online and named correctly; misfiled devices can become very tricky when you’re trying to sortthrough the chaos of them all.
Once you apply these simple band-aids, your setup is solid once more. It makes your camera set-up clean and everything in line and ready to be attended by you at any Time.
Backing Up Your Camera Settings for Safety
It’s also good to back up your camera settings because a reset may occur, an app will become corrupt, or you may just happen to switch devices. After you’ve figured out how to set-up camera on Invade Elevate app, it’s definitely good practice to create a backup so your structure stays safe and recoverable at all times.
Begin by exporting your layout, TAGs, groups and priority lists via the app’s settings menu. Copy and paste this file to a secure cloud or on device location for future restoration.
With a backup, you needn’t concern yourself about losing your organized system. It preserves your workspace safe, stable and can be loaded in a click if anything goes wrong.
Maintaining an Organized Layout over Time
No matter how clean your layout is, it serves little purpose if you don’t update regularly. Your dashboard could slowly get cluttered as new cameras are added or old ones replaced. That’s why throughout the year, it’s important to do proper maintenance to keep everything manageable.
First, you should check on your groups and tags and layouts every few weeks. Delete any feeds that you don’t need, label misnamed ones and rearrange the order of the widgets to reflect your current habits. Tiny little tweaks take care of your system in the best way.
Preserving your monitoring workflow through regular maintenance keeps it sharp, efficient, and stress-free. It keeps your overall system organized and accurate, as well as ready for daily use.
Advanced Tips to Maximize Camera Organization
Now that you know how to organize camera on invid elevate app, there are a bit more advanced ways you can take your setup even further. These techniques allow you to create a cleaner, more intelligent and more responsive monitoring design.
Maybe use nested groups – start with one group per floor, then add sub-groups based on room type. You can also use priority marks, even create multiple multi-scene boards and arrange views in order of peak time for better tuning.
With these advanced strategies, the more tuned up and powerful your dashboard is. Whenever you check your system, it provides faster retrievals, clearer organization and an easier experience.
Read More: GoBlueCC: Secure, Scalable Cloud Computing & Cybersecurity Platform
Final Thoughts on Smooth Camera Management
Find out how to organize camera on invid elevate app having this knowledge will give you ongoing control over all of your security system. And with a clean, simple layout, you can be even more efficient: the speed of navigating and responding warrants less hunting through cluttered feeds.
Step back and have one more look at what groups, tags and layouts you’ve put in place. Every time you adjust, the better and more efficient is the way you keep control of your daily work.
Once you get these steps down, handling your cameras is routine and something you’ll not have to worry (much) about. It transforms the Invade Elevate app into a slim, organized and secure tool for your everyday security demands.
Frequently Asked Questions
How do I quickly organize my cameras on the Invade Elevate app?
Pin important feeds with the Favorites feature. It generates a list in your pocket, which saves time on daily checks.
Why won’t my layout save properly?
Yes, but if you turn on cloud sync then year layout will be the same on all devices and your workflow will not get out of whack.
Can I organize cameras differently on each device?
This is commonly caused by syncing issues or old settings. Refresh the app or re-login to get your dashboard back properly loaded.
What’s the fastest way to access important cameras?
First give each camera a clear name, then group and custom layout them. These are the type of things that make everything about organizing AND being more ergonomic much easier.